Make a Party Items Tier List
Honest S–C rankings for income decorations versus vanity clutter while launch meta is still moving.
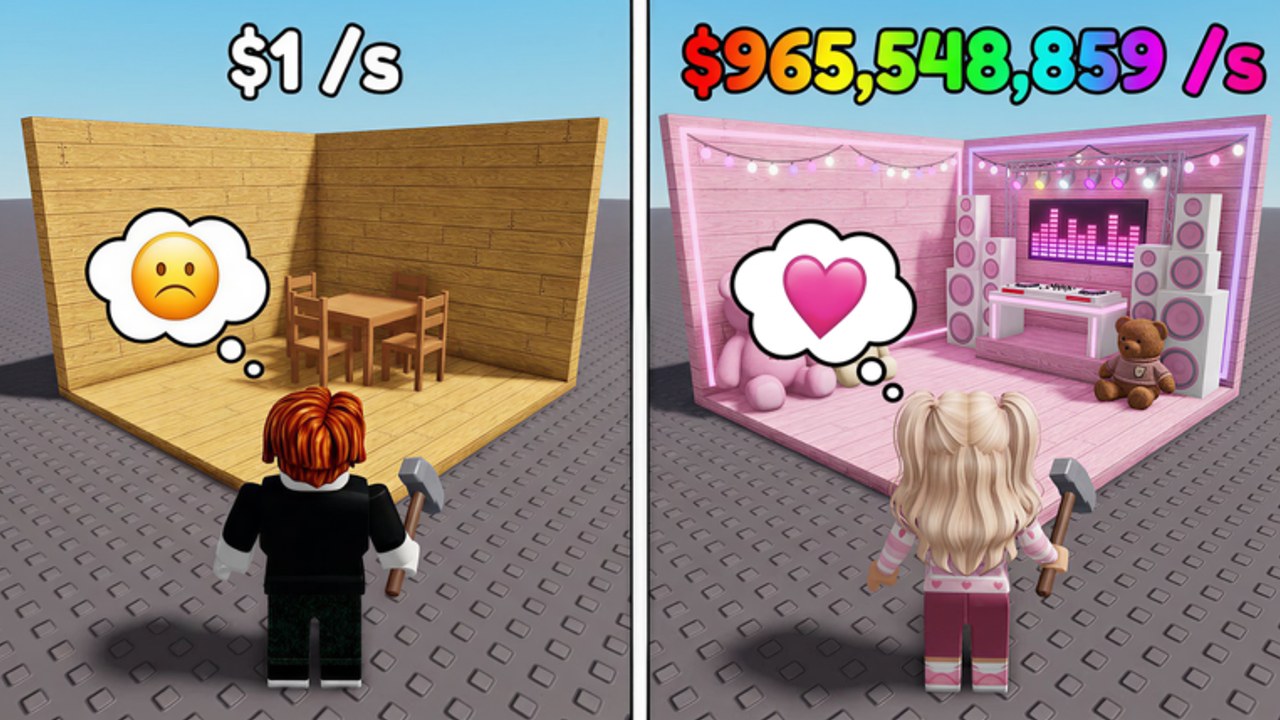
This Party Items Tier List ranks Make a Party decorations by how they support Cash/sec, not by how loud they look in a screenshot. Crazy Night!‘s Roblox loop rewards players who spin Party Items, place the ones that raise party value, sell or store clutter, Start Party, then reinvest. Early-game meta evolves with conveyor luck, box outcomes, boombox availability, and fame shop stock, so treat this page as a ranking framework with working examples rather than a forever spreadsheet.
Use it beside Earn Cash Fast, How to Spin and Decorate, and the sibling Boombox Tier List. Redeem Codes first so you are not ranking from a broke bank. Day-one context lives on Getting Started.
Ranking rules (read before the letters)
- Income first. Prefer items that raise party Cash/sec or unlock a stronger venue state.
- Footprint tax. A strong item you cannot place because of missing house space or slots is temporarily demoted until you expand the base.
- Opportunity cost. If keeping a B-tier prop delays conveyor, boombox, or a needed expand, sell or store it.
- Variance honesty. Boxes and lucky conveyor rolls can spike rare pieces; do not rebuild your whole economy around one lucky drop.
- Stage labels. Early = first parties and cheap fills. Mid = cleaner layouts plus boombox competition. Late = rebirth cycles and only high-impact keeps.
S Tier — keep and center
S-tier pieces are the ones you place in the main party cluster and refuse to sell while they still raise income. In practice that means high-impact Party Items that clearly beat filler props on Cash/sec feel, sit well next to your boombox focal point, and remain useful after a small expand. When conveyor luck or a box hands you an obvious standout, park it center-stage and stop spinning for wallpaper until capacity is used.
Practical S habits:
- Place S items where guests would gather so the party state feels intentional.
- Surround them with A-tier support pieces, not C-tier clutter walls.
- If an S item is inventory-locked by slots, buy slots or expand before another spin dump.
- Re-test after patches; a shop change can pull an S down to A without drama.
A Tier — strong keeps, not automatic max
A-tier decorations are reliable income helpers or high-quality fills that almost make the party look finished. Keep them when space allows. Replace them only when a true S arrives or when you need cash for a structured upgrade that the Boombox Guide or conveyor menu marks as a clear leap.
A-tier mistakes to avoid: treating every shiny A as sacred while your party is off; filling every corner with A cosmetics that do not move Cash/sec; ignoring fame shop or boombox steps because you are emotionally attached to a matching set.
B Tier — situational / bridge gear
B-tier items bridge empty floors early, teach placement habits, and get sold or stored once better drops land. They are fine for the first decorate-and-start-party cycle from Getting Started. They are not fine as late-run anchors while you postpone rebirth or boombox progress.
Use B pieces to:
- Fill mandatory empty slots so you can Start Party immediately.
- Test layout shapes before committing S/A furniture.
- Fund better buys by selling duplicates after a lucky spin or box.
C Tier — vanity, duplicates, and traps
C-tier is decorate-first clutter: duplicates, low-impact props, and items you only keep for a themed screenshot. Sell or store aggressively when cash is needed for conveyor, house expand, boombox, or a planned rebirth. Boxes that spit C filler are not a reason to open more boxes — that is variance eating your mid-game plan. Community autos on CM Hub Script make this worse if Boxes stay enabled while you are broke.
Income items vs decorate items
| Goal | Prefer | Deprioritize |
|---|---|---|
| Raise Cash/sec | S/A income pieces near the party core | Matching C wallpaper sets |
| First party uptime | Any placeable B fill that lets you start | Hoarding unplaced inventory |
| Mid-game polish | A support around S anchors + boombox | Spamming spins for theme purity |
| Pre-rebirth cleanup | Sell C/B duplicates for upgrade cash | Museum of every drop |
Decorate items still matter for fun and for making the boombox area readable, but they lose whenever they delay Start Party, expand, or a known boombox step from the Boombox Tier List.
How boomboxes, boxes, and conveyor luck change ranks
Boomboxes are structured upgrades, not spun decorations, yet they change item value: a mediocre room with a strong boombox step often beats a pretty room with no audio ladder. Rank items after you know whether the next boombox buy is the real bottleneck.
Boxes inject variance. A box can create a temporary personal S-tier from a rare drop. That does not make boxes S-tier spending. Buy boxes only when core uptime, space, and conveyor needs are healthy — same rule as Earn Cash Fast.
Conveyor luck can flood you with mixed quality. Upgrade conveyor for throughput and progression, then apply this tier filter to whatever lands. Luck does not cancel opportunity cost.
Early-game meta evolves — stay honest
Launch windows (see Launch and Milestones) often tweak shops, codes, and pacing. If community chats crown a new favorite prop tomorrow, verify on your Cash/sec meter before rewriting your base. If Crazy Night! adds fame shop exclusives that outpace old S pieces, promote the exclusives and demote nostalgia. This wiki will keep the letter framework stable so you can re-slot names without learning a new language.
Session workflow using this list
- Redeem codes via the Codes Hub.
- Start the party; never rank with income off.
- Spin with a placement plan from How to Spin and Decorate.
- Keep S/A, bridge with B, sell C.
- If inventory is full, expand or buy slots before more spins.
- Compare leftover cash against boombox priority on the Boombox Tier List.
- Log targets in the Party Cash Planner.
- When climbs flatten, clean C/B clutter and open How to Rebirth.
Related pages
Return to the Tier List Hub for the map. For feature feel and audience fit, read the Review. For official group and place links, use Official Links. Ranking is a habit: every spin should end with a keep, sell, or store decision tied to Cash/sec.
Frequently Asked Questions
Quick answers for Make a Party players.
What makes a Party Item S-tier in Make a Party?
Clear Cash/sec or party-value impact, a placeable footprint, and better opportunity cost than spending the same cash on clutter spins.
Should I keep decorative C-tier items for the theme?
Only after income uptime, space, conveyor, and key boombox steps are healthy. Otherwise sell or store clutter for progression cash.
Do boxes change the tier list?
Boxes can drop a personal high-tier item, but box spending stays mid/late priority because outcomes are variance-heavy.
Why might early-game rankings shift?
Conveyor luck, boombox pricing, fame shop stock, and milestone patches can move relative value even when the S–C framework stays the same.
What should I read with this tier list?
Pair it with Earn Cash Fast, How to Spin and Decorate, and the Boombox Tier List so placement and spend order stay aligned.